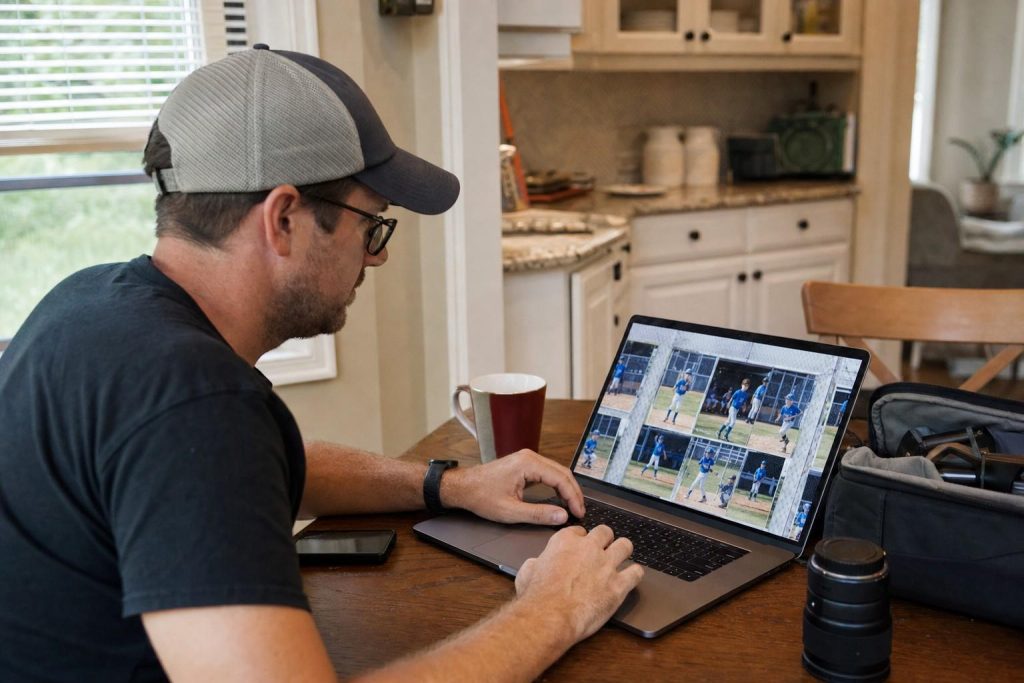
Most game photos just need a few small fixes. You do not need editing experience, and you do not need to buy anything.
Five targeted edits, done in order, take a decent shot to a photo worth keeping. That is the whole workflow.
Before anything else, cull. When culling and sharing the finished photos you already know the drill: pick your keepers and work only on those. Editing a photo that was never good to begin with is wasted time.
Step 1. Crop first

Crop before any other edit. It sets what the photo actually is.
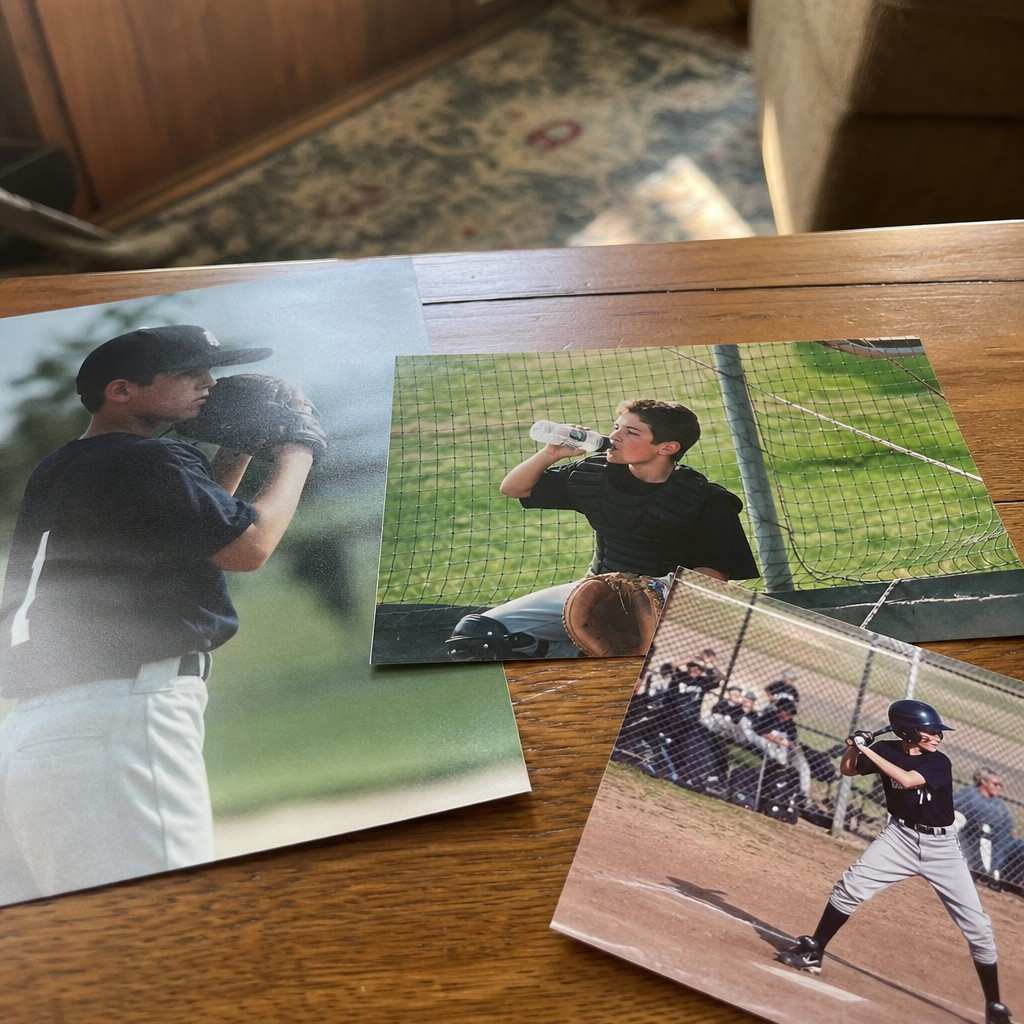
Pull your kid into the center of the frame and cut the empty field or court around them. A distant figure becomes a real photo. If the camera tilted slightly, straightening the horizon is part of the crop.
Most phone editors have a crop-and-rotate tool in one tap. Use it.
- Drag the frame in until your kid fills most of it.
- Straighten any obvious lean on the horizon line.
- Lock the crop before moving on.
A photo where the subject fills the frame looks sharp even before you touch another slider.
Step 2. Brighten the exposure
After cropping, look at the faces. If they are in shadow, lift the exposure.
The exposure or brightness slider is the one that makes the biggest difference on a single drag. Raise it until the face looks natural, not until the photo looks washed out.
On indoor and night shots, check the shadows slider too. Lifting shadows brings up the dark areas without blowing out the bright parts of the image. It is a softer tool than the main brightness control, and often the more useful one.
If you’re working on fixing dark, grainy gym shots from the start, those photos will usually need more lift here than an outdoor shot in daylight.
Step 3. Add contrast and a little clarity
A gym shot or a twilight game often looks flat after you lift the exposure.
Nudge the contrast up to put the punch back. You are restoring what the edit just softened. A small move is enough: five to fifteen points on most apps.
Clarity is a related control that sharpens midtone detail without touching the whole image. A small clarity boost brings out jersey numbers, faces, and motion detail that goes soft in low light. Keep it subtle. Five to ten is plenty.
Over-editing contrast is the most common rookie mistake. If the photo starts looking like a film poster, pull the slider back.
Step 4. Reduce the noise on indoor shots
High-ISO photos from a dark gym come out grainy. That grain is called noise, and most phone editors have a slider for it.
Look for a setting labeled Noise Reduction, Denoise, or Grain. Drag it up until the photo looks smoother, then stop. Going too far blurs the subject and makes the image look plastic.
Noise is worth reducing before you sharpen, not after. Sharpening amplifies whatever is in the image, and you want to amplify edges, not grain.
This step matters on gym and pool shots. For a bright outdoor game on a clear afternoon, skip it.
Step 5. Sharpen last
Sharpening is the final step because it amplifies everything that came before it.
A light sharpening pass brings the subject’s edges back after any earlier softening. Look at the face, the ball, the jersey. If those edges look crisp at 100 percent zoom, stop.
- Ten to twenty on the sharpening slider is a starting point.
- Zoom in on the subject’s edge to judge it, not on the background.
- More is not better here. Oversharpening creates a crunchy halo around edges.
Fix the color cast from gym lighting
This one sits outside the five-step order because it only matters on certain shots.
Indoor gyms and pools often show up green, blue, or orange depending on the lights. If the whites in your photo look tinted, nudge the temperature or tint sliders.
Drag temperature toward orange to warm up a cold blue gym. Drag tint toward magenta to cancel a green cast. Stop when a white shirt or the floor markings look white again.
Outdoor daylight shots rarely need this. It is mainly a gym and pool problem.
Do not over-edit
A believable photo of your kid in the game beats an over-processed one every time.
Keep skin tones natural. Leave the saturation alone. Cranking saturation makes grass neon green and jerseys electric, and it looks wrong to anyone who was there.
The goal is a photo that looks like it was taken by a competent person, not one that screams “edited.”
Batch the similar shots
If you shot twenty photos in the same gym under the same lights, they all need roughly the same fixes.
Make your edits on one photo, then apply the same settings to the whole batch. Most phone editing apps have a copy-and-paste edit function, or a batch-export setting.
- Edit one representative shot until it looks right.
- Copy those settings across to the others.
- Check a few at random to make sure the same adjustments worked.
This turns a session of edits into a few minutes of work.
A quick edit checklist
Before you call a photo done, run through these in order:
- Crop to fill the frame and straighten the horizon.
- Exposure or brightness to lift dark faces. Check shadows on dim shots.
- Contrast to restore punch. A little clarity on flat gym photos.
- Noise reduction on indoor and high-ISO shots, before sharpening.
- Sharpen lightly as the last step.
- White balance if whites look tinted (mainly gyms and pools).
- Skin tones look natural, saturation not cranked.
The goal is a photo you want to print, not one that needed editing. The best starting point is always the camera or phone that took them, because a sharp original in good light needs almost none of this.